ARL PD Bank Position Project
Documentation: Viewing and Maintaining a Position
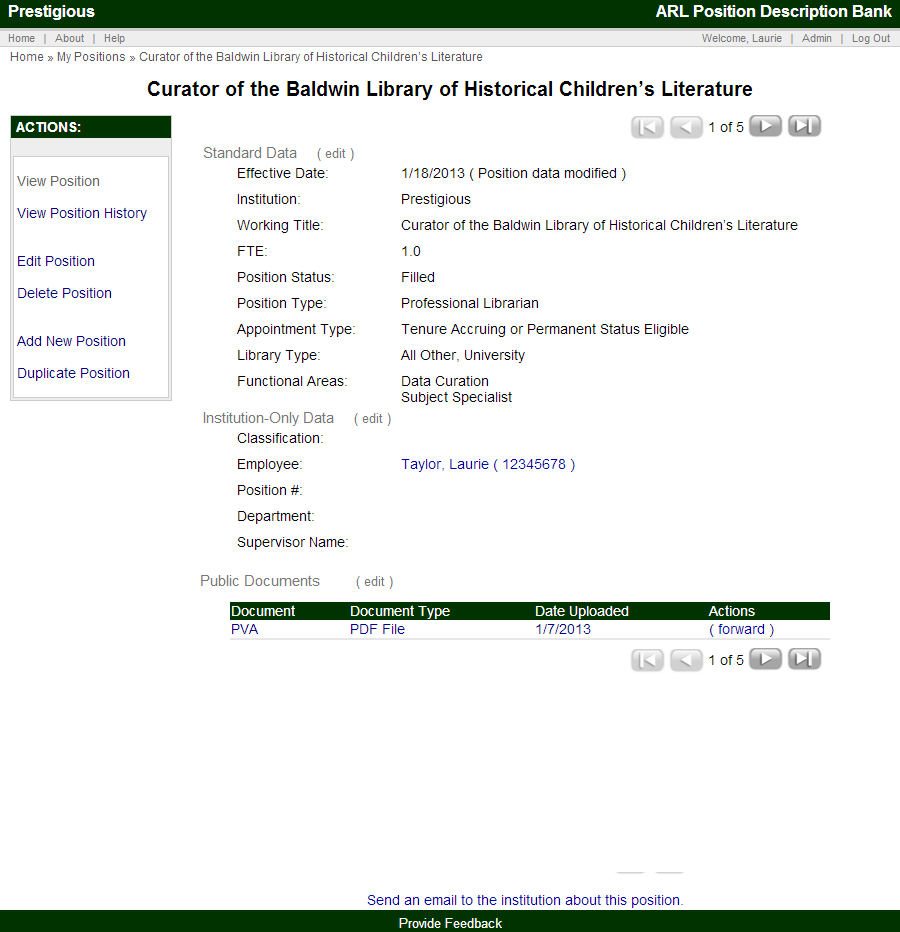
After submitting a position, you can view the Single Record. The Single Record screen includes:
- Standard Data
- Institution-Only Data (if applicable)
- Public Documents
- Private (Institution-Only) Documents (if applicable)
- Actions Sidebar:
- View Position
- View Position History
- Edit Position
- Delete Position
- Add New Position
- Duplicate Position
- Bottom links
- Email Position (from the documents at the bottom, using the forward link)
- Send an email to the institution about this position (bottom of the page)
The screenshots below are of a single record with Public Documents and Private Documents, and with multiple versions of the record which can be accessed using the arrow buttons.
Please note: The system automatically tracks the date and username when documents and data are added and/or modified. This logged information can be accessed in View Position History, explained in the Actions sidebar section below. Changes are reflected immediately in the single record screen.
Actions Sidebar
Clicking on one of the options in the Actions sidebar will bring up a new screen. You can always return to the Single Record screen by clicking View Position.
View Position
From this screen you can view a single position record and access any associated documents. In the upper right hand corner (see screen shot below) you can access historical records of this same position by selecting the directional arrows.
Each change to the position data or submission of a new document creates a historical record of the position.
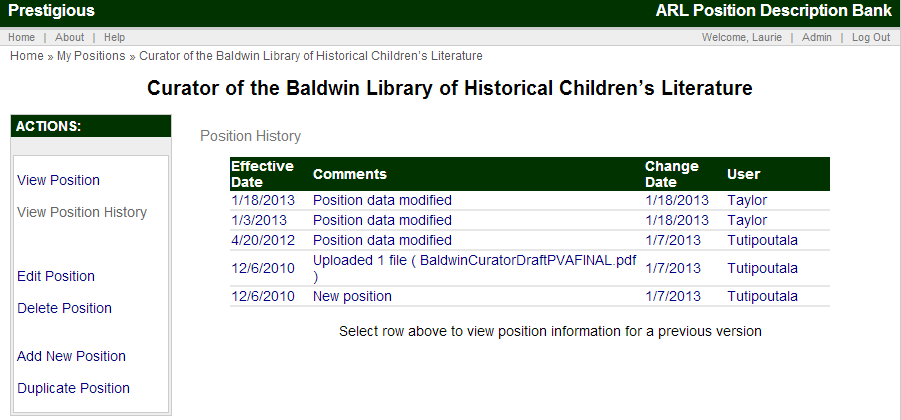
View Position History
The View Position History screen shows all versions of the position, the date, and username for the edits. By clicking on one of the versions, you will see the record as it existed at the time of that change, including the then current documents.
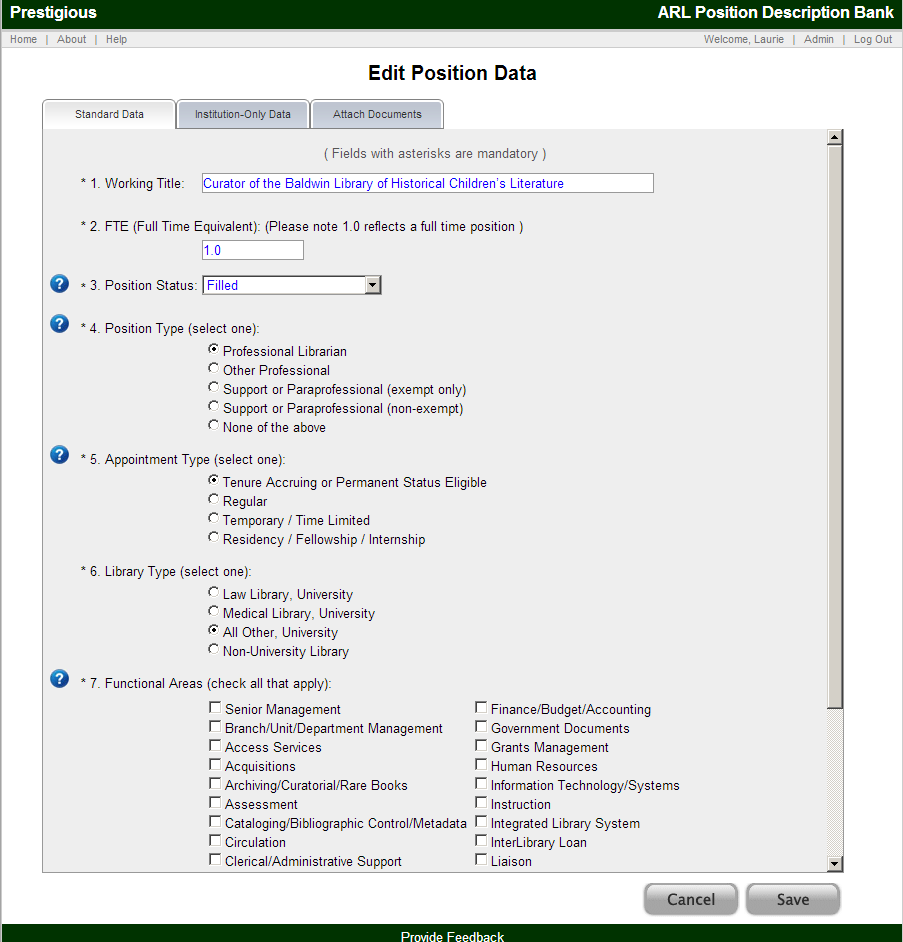
Edit Position
The Edit Position Data screens are very similar to the initial Add New Position screens introduced above in that they include:
- Standard Data
- Institution-Only Data
- Attach Documents
Delete Position
The Delete Position link from the Actions sidebar allows you to delete the position and all files for the position. Delete Position actions are not reversible and, therefore require a confirmation:
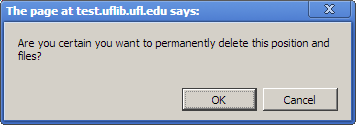
Clicking OK permanently deletes the position and all associated documents. If an employee is associated with a deleted position, the employee will not be deleted.
Add New Position
The Add New Position link from the Actions sidebar opens the standard process for adding a new position covered earlier in this guide. The process is identical, and the Add New Position link is included in the Actions sidebar for ease of use.
Duplicate Position
Duplicate Position allows you to create a duplicate of the existing position record. This makes it easier to create multiple similar positions.
Clicking on the Duplicate Position action prompts a confirmation:
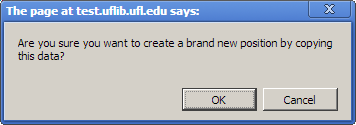
Clicking OK then brings up the Add New Position screens with all of the information from the duplicated position already filled in. You can then edit the new position data, attach documents, and submit to save the duplicated position.
Forwarding Documents
From the Single Record screen, there is a Forward link next to the documents, as shown in the screenshot below.
Clicking the Forward link brings up the Forward a Document screen:
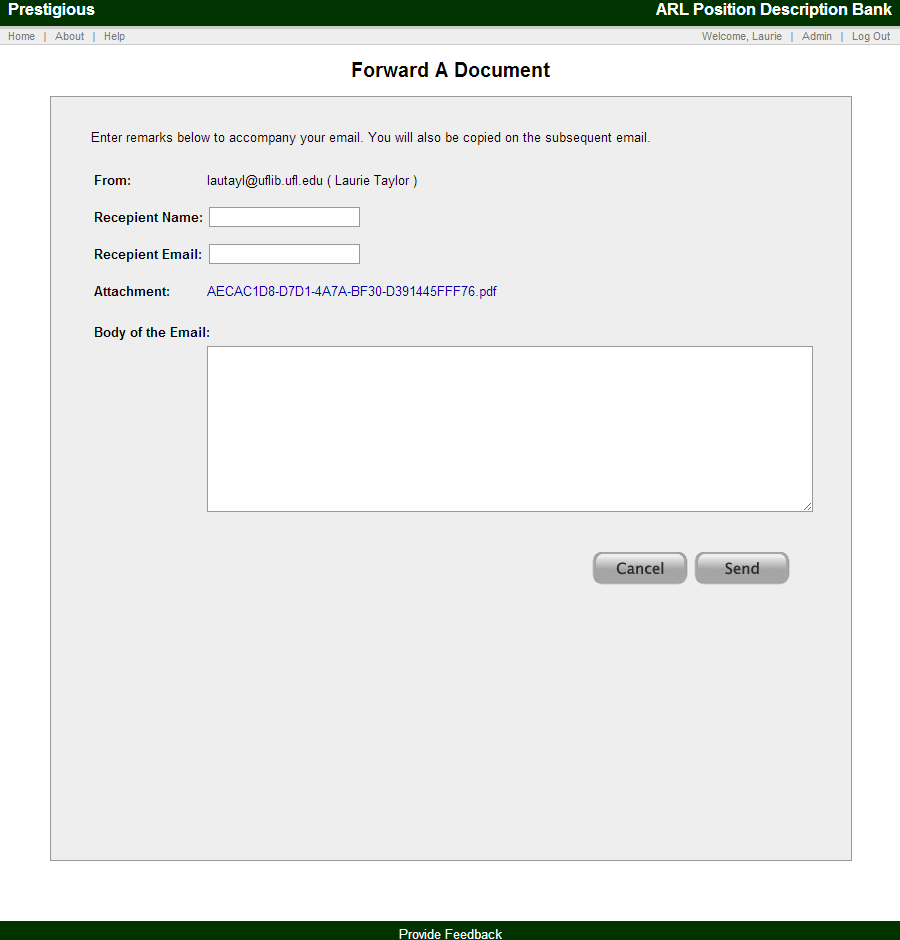
Complete the form and click Submit to send an email with the selected document attached. You will then automatically be returned to the Single Record screen where you will receive a confirmation message: Email Sent Successfully.
Send an Email to the Institution
From the Single Record screen, there is a "Send an email to the institution about this position" link at the bottom of the page, as shown in the screenshot below.
Clicking the Send link brings up the Email screen:
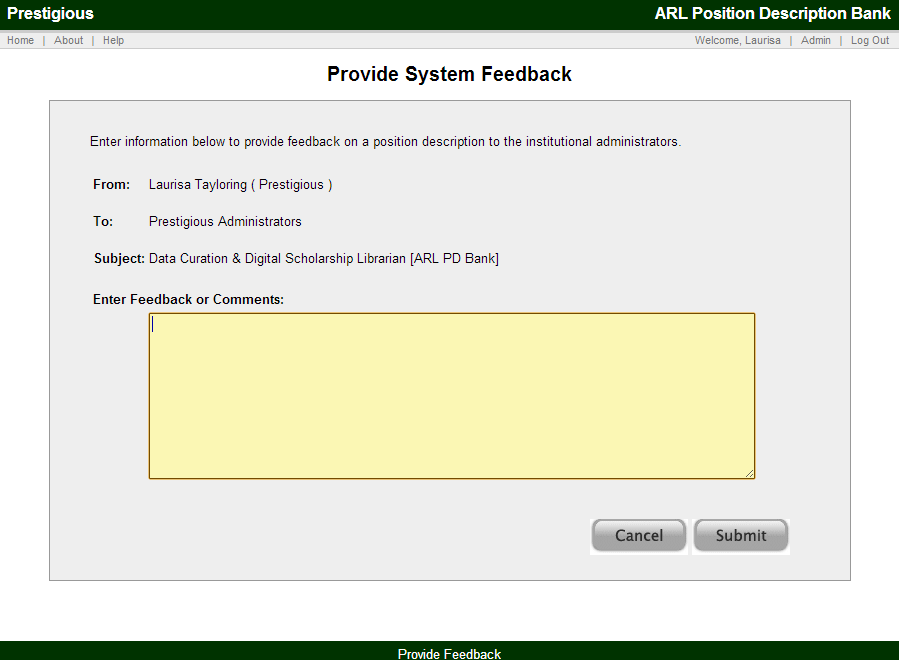
Complete the form and click Submit to send an email to the institution regarding the position. You will then see a Thank You message screen with a link to return to the ARL PD Bank.